
Introduction
Adding letters or words to fabric can be a creative and personal way to customize your clothing, home decor, or craft projects. Whether you’re monogramming a pillow, personalizing a tote bag, or adding a name to a baby blanket, sewing letters on fabric is a versatile skill to have. In this blog, we’ll take you through a step-by-step guide on How To Embroider Letters On Fabric With Sewing Machine.
Materials You’ll Need (How to Sew Letters on Fabric) :
- Fabric: Choose the fabric you want to work with. Cotton, canvas, or denim are good choices for beginners.
- Thread: Select thread that matches the color of your fabric or choose a contrasting color for a decorative effect.
- Sewing Machine or Needle: Depending on your project, you can use a sewing machine for speed and precision or hand-sew if you prefer.
- Embroidery Hoop (optional): If you’re hand-sewing, an embroidery hoop can help keep the fabric taut and make stitching easier.
- Fabric Pen or Chalk: To mark your design on the fabric.
- Scissors: For cutting thread and trimming excess fabric.
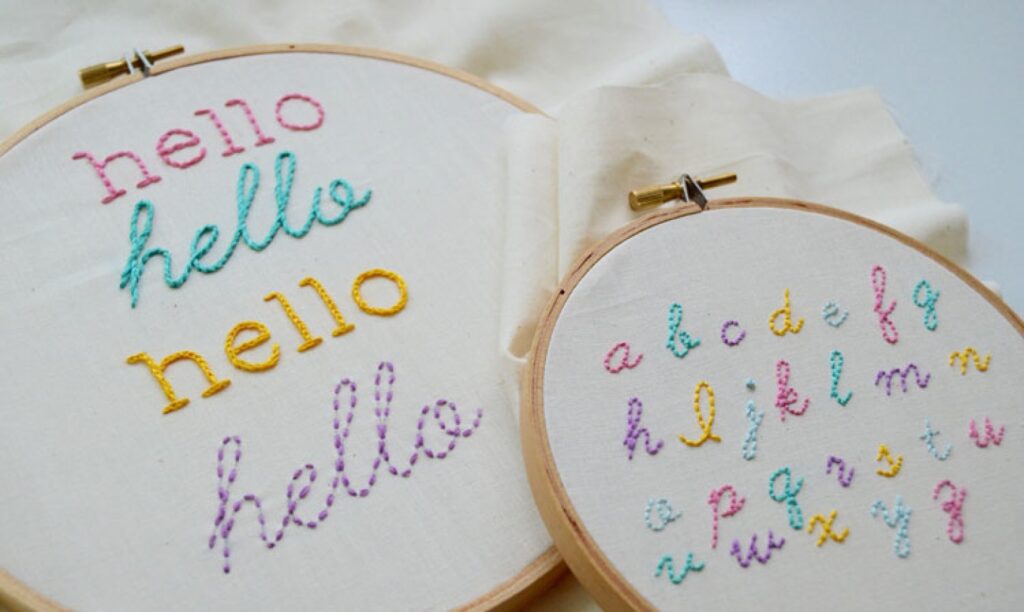
- Letter Template: You can print or draw the letters you want to sew on paper.
Step 1: Choose and Prepare Your Design:
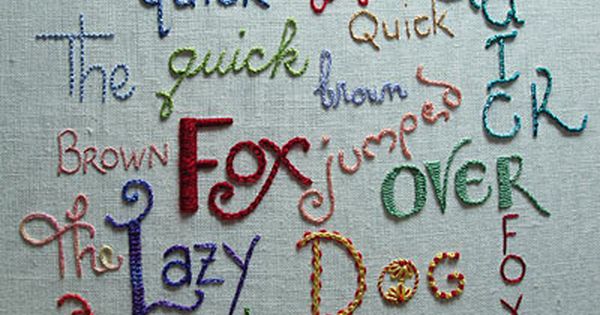
Start by deciding what letters or words you want to sew onto your fabric. Once you’ve decided, create a template. You can either print the letters in the desired font and size or draw them freehand onto paper. Cut out the letters from your template.
Step 2: Mark the Fabric:
Place your fabric flat on a table or any suitable surface. Position your letter templates where you want them to be sewn. You can use fabric chalk or a fabric pen to trace the letters onto the fabric. Make sure the marks are clear and accurate.
Step 3: Set Up Your Sewing Machine:
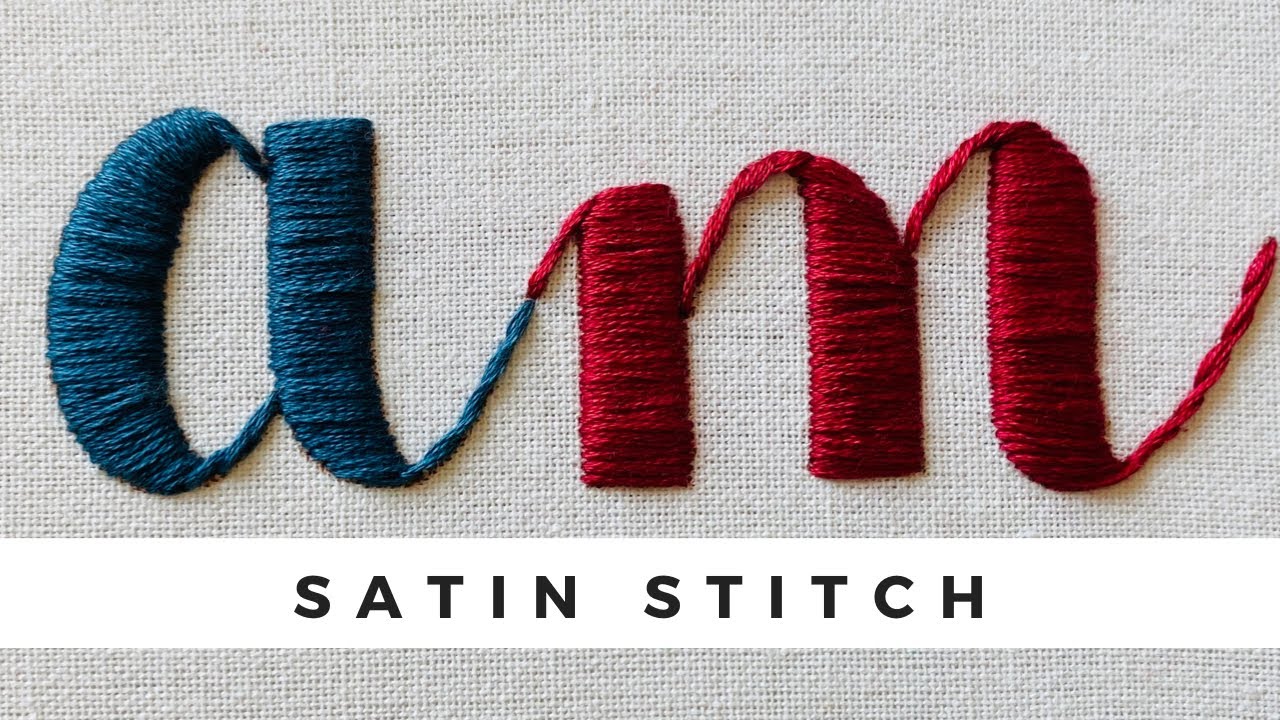
If you’re using a sewing machine, thread it with the matching thread color, and select the appropriate stitch type. A straight stitch or a narrow zigzag stitch works well for sewing letters. Adjust the stitch length to your preference.
Step 4: Start Sewing:
If you’re using a sewing machine:
a. Position the fabric under the presser foot with the needle above the starting point of the first letter.
b. Lower the presser foot and start sewing along the traced lines.
c. Sew slowly and carefully, following the outline of each letter. Pivot the fabric as needed to navigate curves and angles.
d. When you reach the end of a letter, lift the presser foot, and carefully cut the thread.
If you’re hand-sewing:
Step by Step Procedure:
a. Thread your needle with a length of thread (usually about 18-24 inches) and knot the end.
b. Begin stitching from the backside of the fabric, coming up through the starting point of your letter.
c. Sew along the traced lines, using a straight stitch. Make small, even stitches to follow the shape of the letter.
d. When you reach the end of a letter, secure your thread and cut the excess.
Step 5: Finishing Up:
After sewing all the letters, tie off the thread on the backside of the fabric to secure your stitches. If you’re using a sewing machine, you can use a reverse stitch at the beginning and end to lock your stitches in place.
Step 6: Press the Fabric:
Gently press your fabric to remove any creases or wrinkles caused by the sewing process. Be sure to follow the fabric care instructions to avoid damaging it.
Conclusion:
Sewing letters on fabric is a creative way to personalize your projects. Whether you’re embellishing clothing, adding a special touch to home decor, or making custom gifts, mastering this skill can take your craftsmanship to the next level. With the right tools and some practice, you’ll be able to create beautifully stitched letters on fabric to suit your unique style and vision. So, grab your materials and get started on your next sewing adventure!
