
Introduction:
Embarking on a journey into the world of sewing can be incredibly rewarding, allowing you to create personalized clothing, accessories, and home decor items. One of the first steps in this creative process is setting up your sewing machine. While the thought might seem daunting to a beginner, fear not! This guide will walk you through the process of setting up your sewing machine, from unpacking it to threading the needle and getting ready to sew your first stitches.
https://thesewinginfo.com/best-sewing-machine-for-beginners/: How To Setup A Sewing Machine Step By Step GuideUnboxing and Preparation
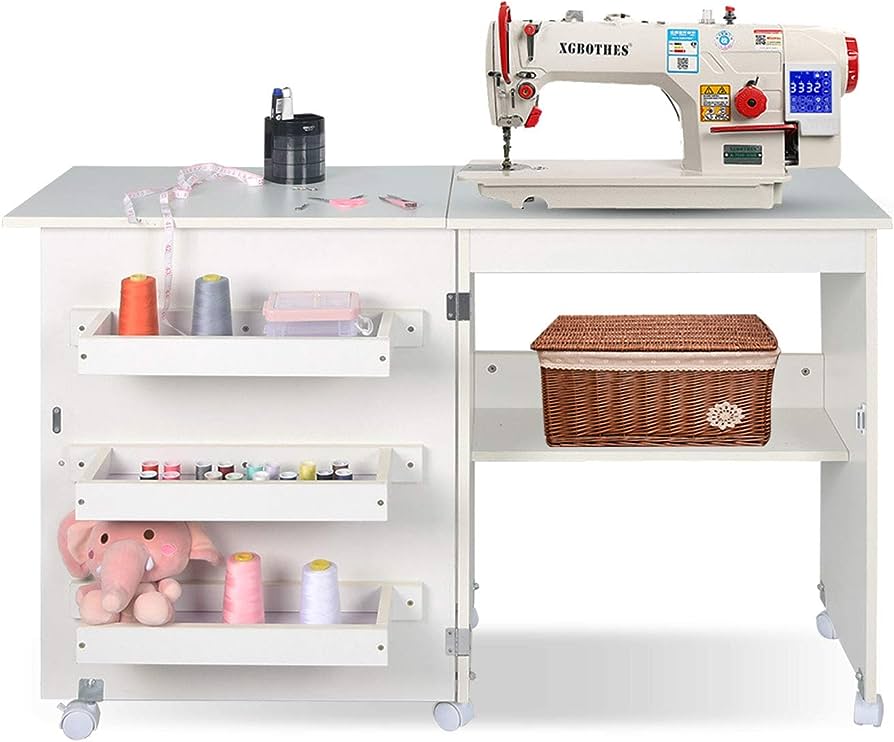
1. Choose a Workspace:
Find a well-lit and comfortable area to set up your sewing machine. A sturdy table or desk is ideal, ensuring that you have enough space to maneuver your fabric.
2. Unpacking:
Carefully unpack your sewing machine and its components. You’ll typically find the sewing machine, power cord, foot pedal, accessories, and user manual in the box.
3. Read the Manual:
Before diving in, spend some time familiarizing yourself with the user manual. Each sewing machine has unique features, so understanding its specific functions is essential.
Basic Setup Steps
1. Power and Light:
Place your sewing machine on your chosen surface. Plug in the power cord and connect the foot pedal. Turn on the machine. Many machines have built-in lights, which can be incredibly helpful for better visibility while sewing.

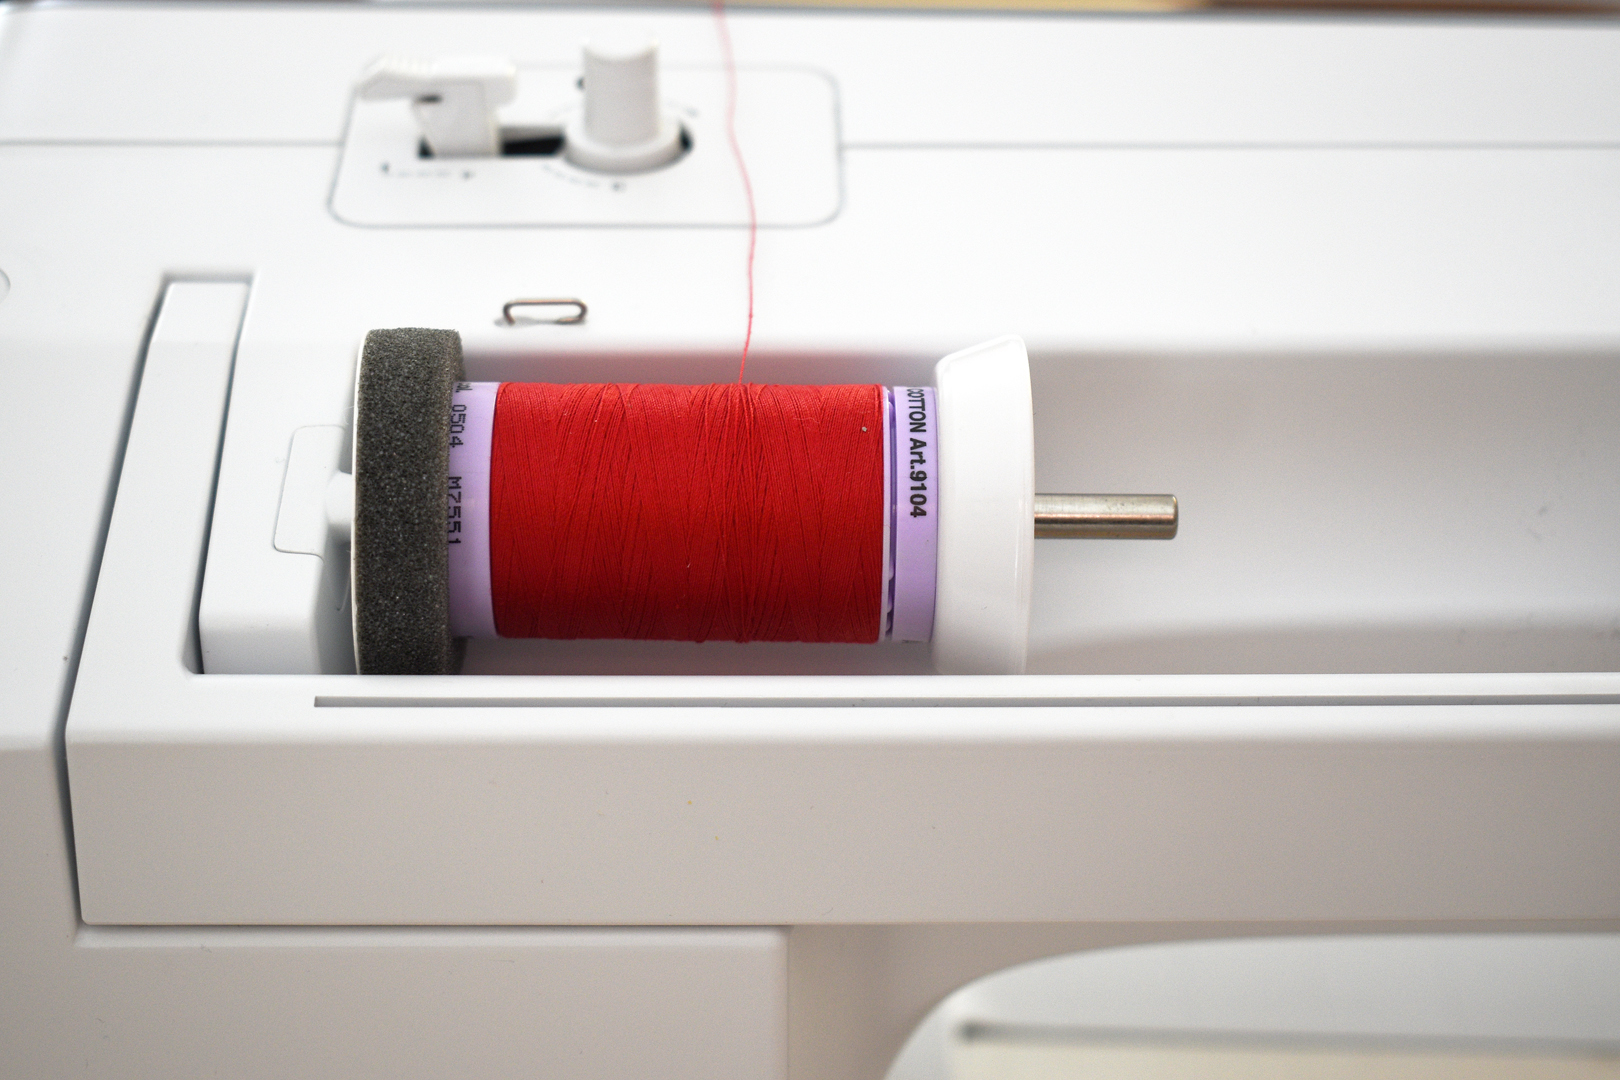
2. Thread Spool Setup:
Locate the spool pin, usually located on the top of the machine. Place your thread spool onto this pin.
3. Thread Guide:
Your sewing machine will have a threading path indicated by numbered arrows. Follow this path to ensure the thread flows smoothly through the machine.
4. Bobbin Setup:
Wind the bobbin with thread. The bobbin is a small spool of thread that provides the lower thread for your stitches. Consult the manual for instructions on properly winding and loading the bobbin.
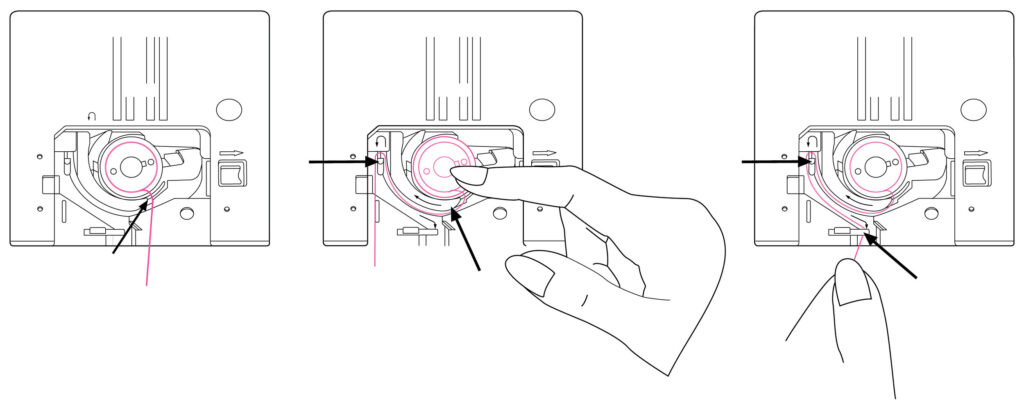
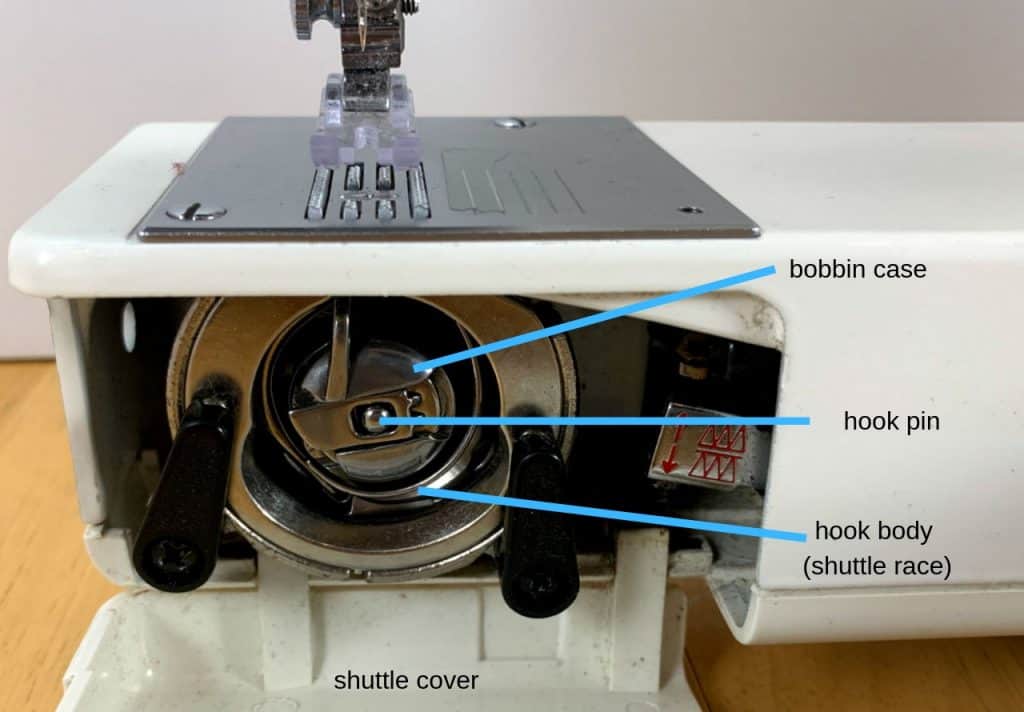
5. Inserting the Bobbin:
Open the bobbin case, usually located below the needle plate. Insert the wound bobbin into the case, following the arrows indicating the thread’s direction. Pull the thread through the slit, leaving a few inches dangling.
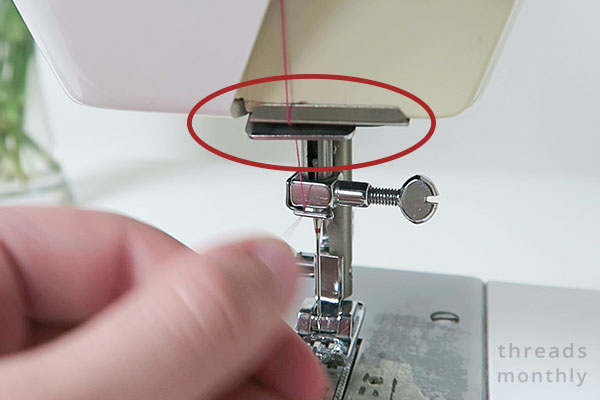
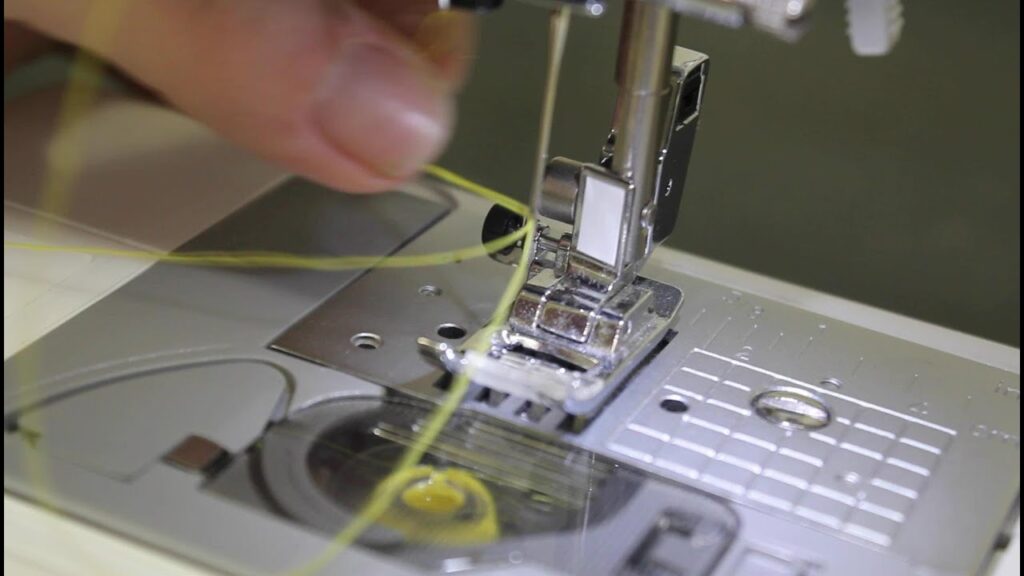
6. Threading the Needle:
Now it’s time to thread the upper part of the machine. Pass the thread through the upper thread guide, then through the tension discs, and finally thread it through the needle from front to back.
Testing and Adjustments
1. Needle Position:
Most machines allow you to adjust the needle’s position. Experiment with different positions to determine which one suits your project best.
2. Tension Settings:
Proper tension ensures balanced stitches. Consult your manual to learn how to adjust the tension settings. Test on scrap fabric and make necessary adjustments.
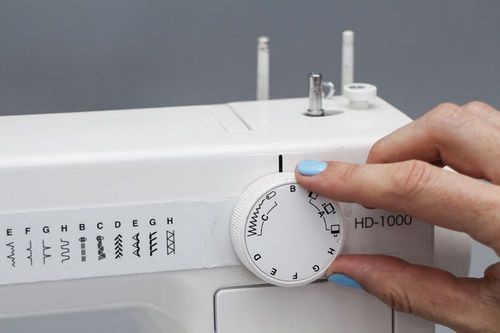
3. Stitch Selection:
Explore the variety of stitches your machine offers. Different projects require different stitch types, so familiarize yourself with the options.
Getting Ready to Sew
1. Fabric and Needle Choice:
Select an appropriate needle for your fabric type. Thicker fabrics require larger needles, while delicate fabrics need finer ones.
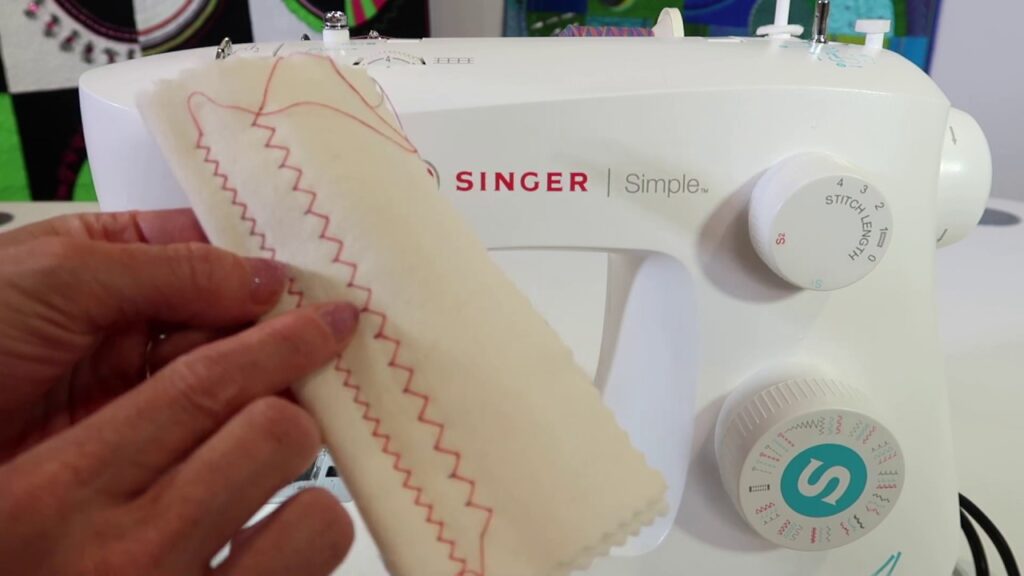
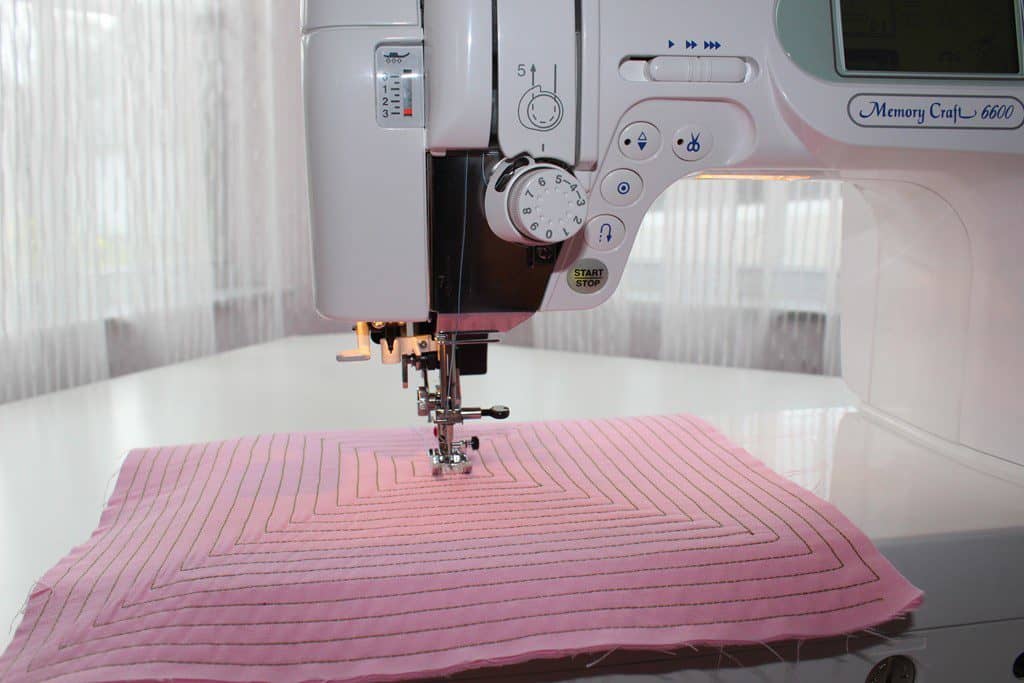
2. Practice on Scrap Fabric:
Before starting your main project, practice sewing on a scrap piece of fabric. This helps you get comfortable with the machine’s operation and test your stitch settings.
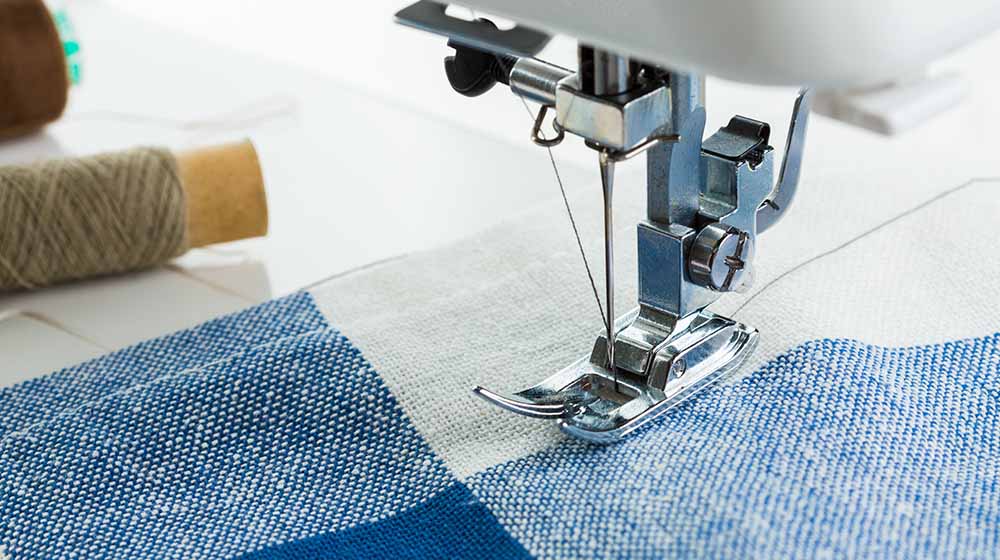
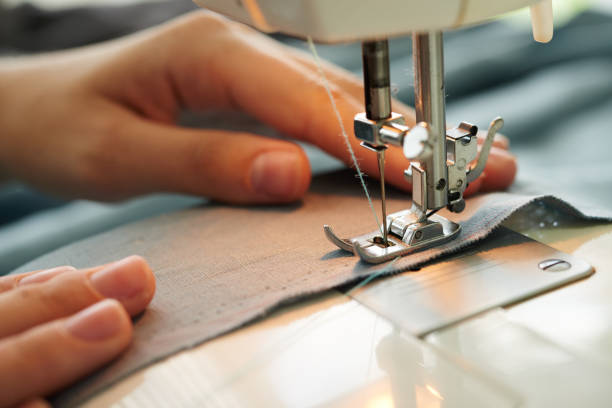
3. Start Sewing:
Once you feel confident, position your fabric under the presser foot. Lower the presser foot and gently press on the foot pedal to start sewing.

Conclusion:
Setting up a sewing machine might seem like a complex task, but with patience and practice, it becomes second nature. By following these steps and referring to your machine’s manual, you’ll be well on your way to creating beautiful stitches and bringing your creative sewing projects to life. Remember, each sewing machine is unique, so take the time to understand its features, experiment, and enjoy the journey of learning this wonderful craft. Happy sewing!
https://thesewinginfo.com/why-sewing-machine-thread-breaks/: How To Setup A Sewing Machine Step By Step Guide